Believe me, cabbages can bring so much more to a meal than a bland, boiled side dish. Forget images of mushy, boiled ‘to within an inch of its life’ cabbage, and open your mind and mouth to this deliciously versatile and nutritious vegetable. You can steam, stir fry and roast cabbages (yes I said roast!), as well as pickling them and using raw in side salads. They store well – either left in the ground until you want them or in the fridge for a week or more. Find out how to grow cabbage the easy way.
10 reasons to grow cabbages
- Large amounts of cheap seeds in packets sold in most shops.
- Seeds germinate in any compost.
- Low maintenance – they just need watering every week, if it hasn’t rained.
- You can let some cabbages flower and save the seeds for next year.
- They can be left in the ground until you are ready to eat them.
- Different varieties of cabbage enable you to grow and eat them all year round.
- They are easy to harvest – just loosen the soil and pull.
- Red cabbage can be pickled and stored in jars, and are far tastier than shop-bought.
- Red and white cabbages can be finely sliced and used raw in crunchy coleslaws.
- Leafy greens are important for overall health, because they are full of vitamins, minerals and iron.
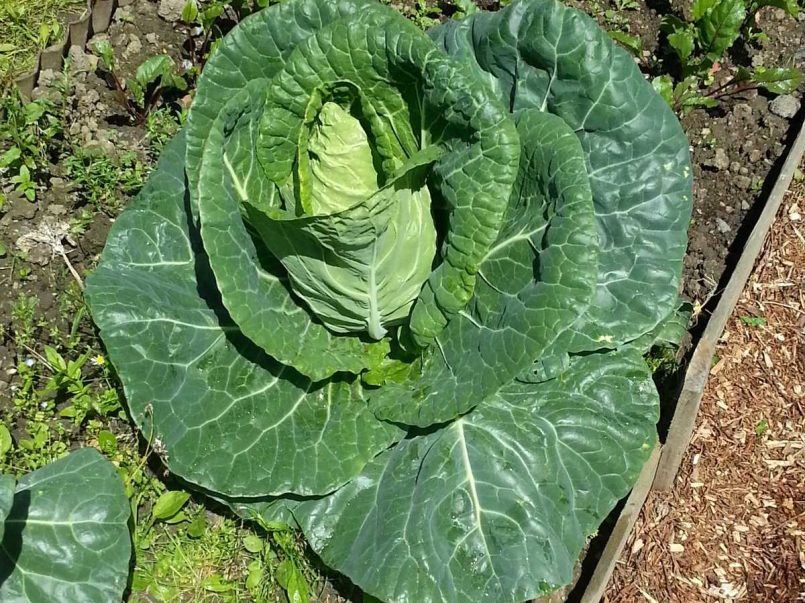
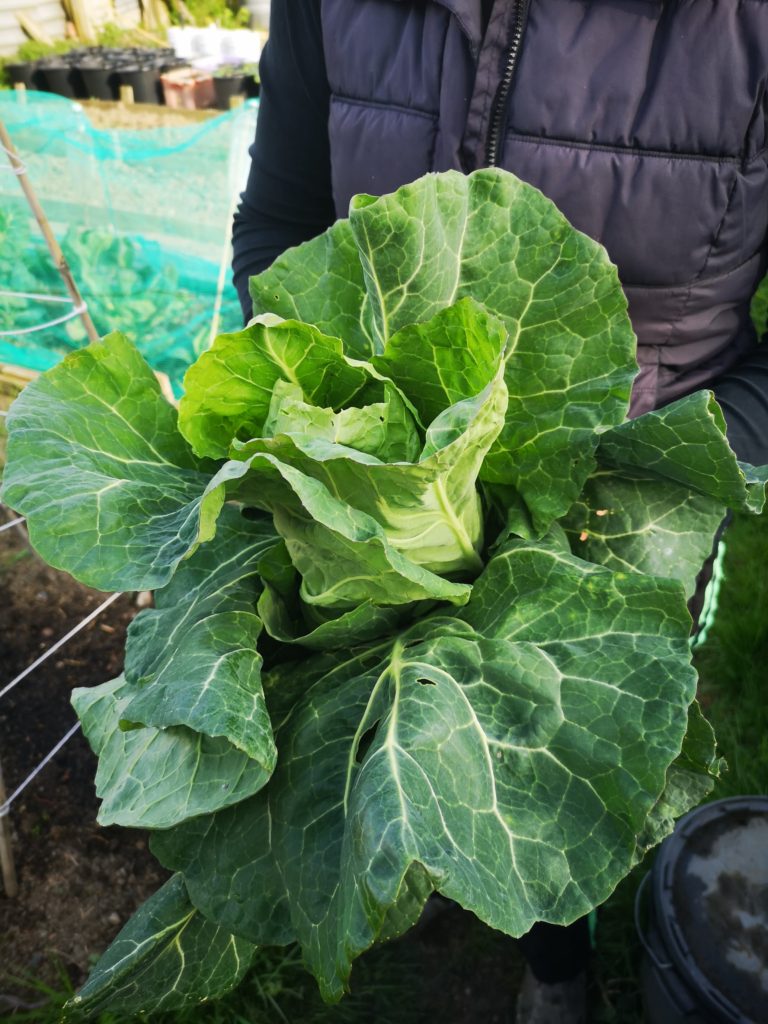
Our cabbages last year – what we did
Our summer harvested cabbages – we sowed pointed cabbage seeds in a tray on 9th April, put them into small individual pots on 26th April, planted thirty of them in the ground on 15th May, and from July onwards we were using them mainly in coleslaw and salad dishes. We could have kept some seeds back and grown more later on that summer for harvesting up until September.
Our winter harvested cabbages – we sowed the seeds in a tray on 9th June, transferred them to pots in mid-June, planted a dozen in the ground on 4th July, and from early November we were harvesting them throughout the winter.
Our spring green cabbages – we sowed the seeds in a tray on 22nd August, transferred them into pots in early September, planted twenty in the ground on 9th October, and from April we were harvesting them for the rest of the spring.
Recommended varieties: Greyhound Pointed (summer), January King (winter) and April Spring (Spring)
How you can grow cabbages
What you’ll need:
- Cabbage seeds (choose the variety depending on the time of year you want to eat them)
- A tray
- Some small plant pots
- Some compost
- Watering can or jug
- Greenhouse or under glass – somewhere protected from the weather
What you’ll do:
- In April, fill a seed tray three-quarters full with compost. Water the compost lightly.
- Arrange the seeds evenly over the compost, try to leave at least a 1-inch gap between seeds.
- Cover seeds with compost so the tray is full. Sow more than you need.
- Water every week or so if the compost looks dry, but don’t overwater them.
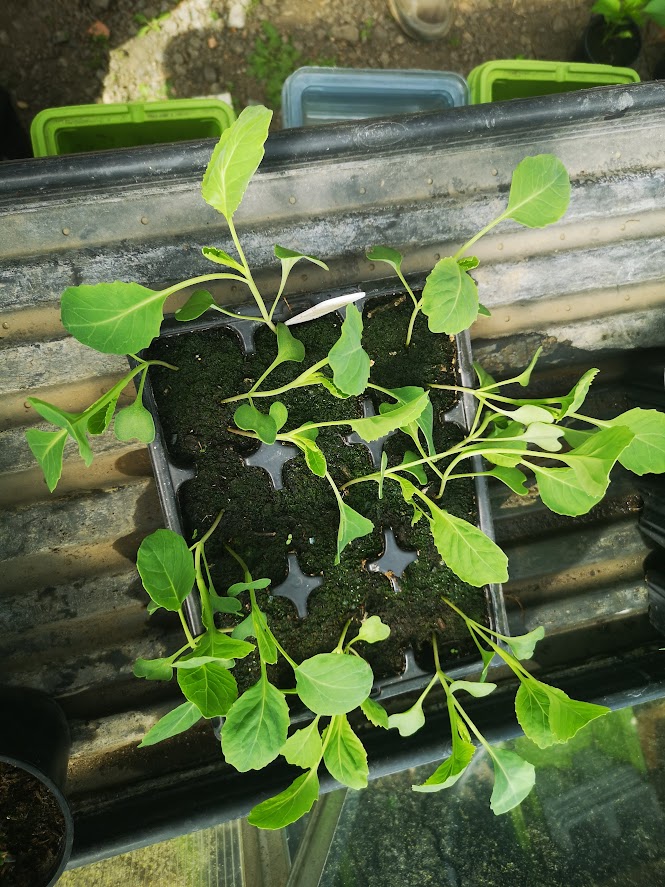
- Once the seedlings are large enough to handle, carefully move them into small individual plant pots filled with compost. Keep watering them if dry.
- Once the seedlings have at least four true leaves (the first two leaves don’t count), then plant in the ground. First check under the leaves to remove any caterpillars or eggs, if you have seen any butterflies. Then dig holes spaced 40-50cm apart in both directions. Choose the strongest, biggest seedlings and discard or give away the others. Water well.
Caring for cabbages
Weekly watering is all cabbages need. If they look in need of a boost, and after they have grown a little, you can give them a homemade nitrogen nettle feed to promote leaf growth.
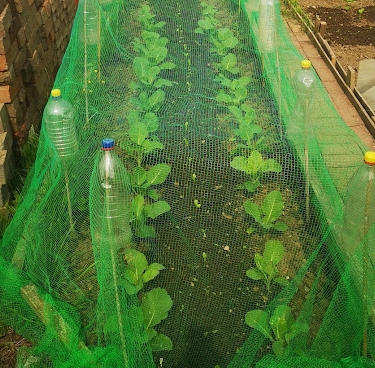
I strongly advise you to cover the cabbages with netting. See the reasons in the ‘Problems’ section below.
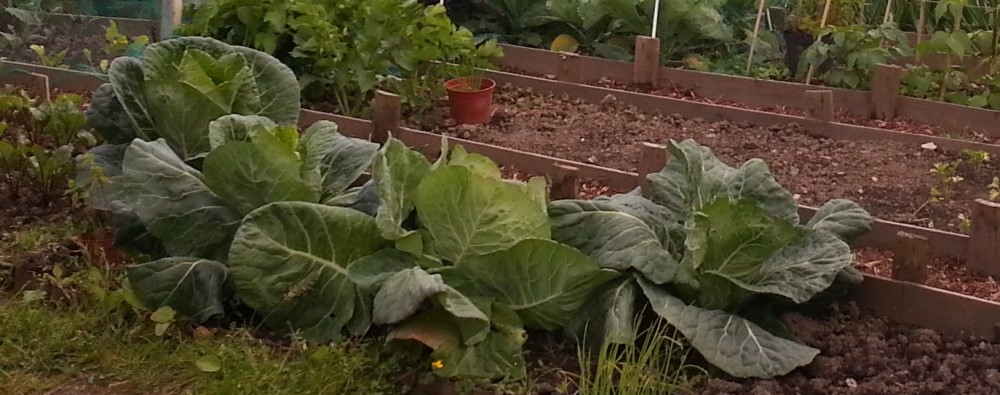
Harvesting cabbages
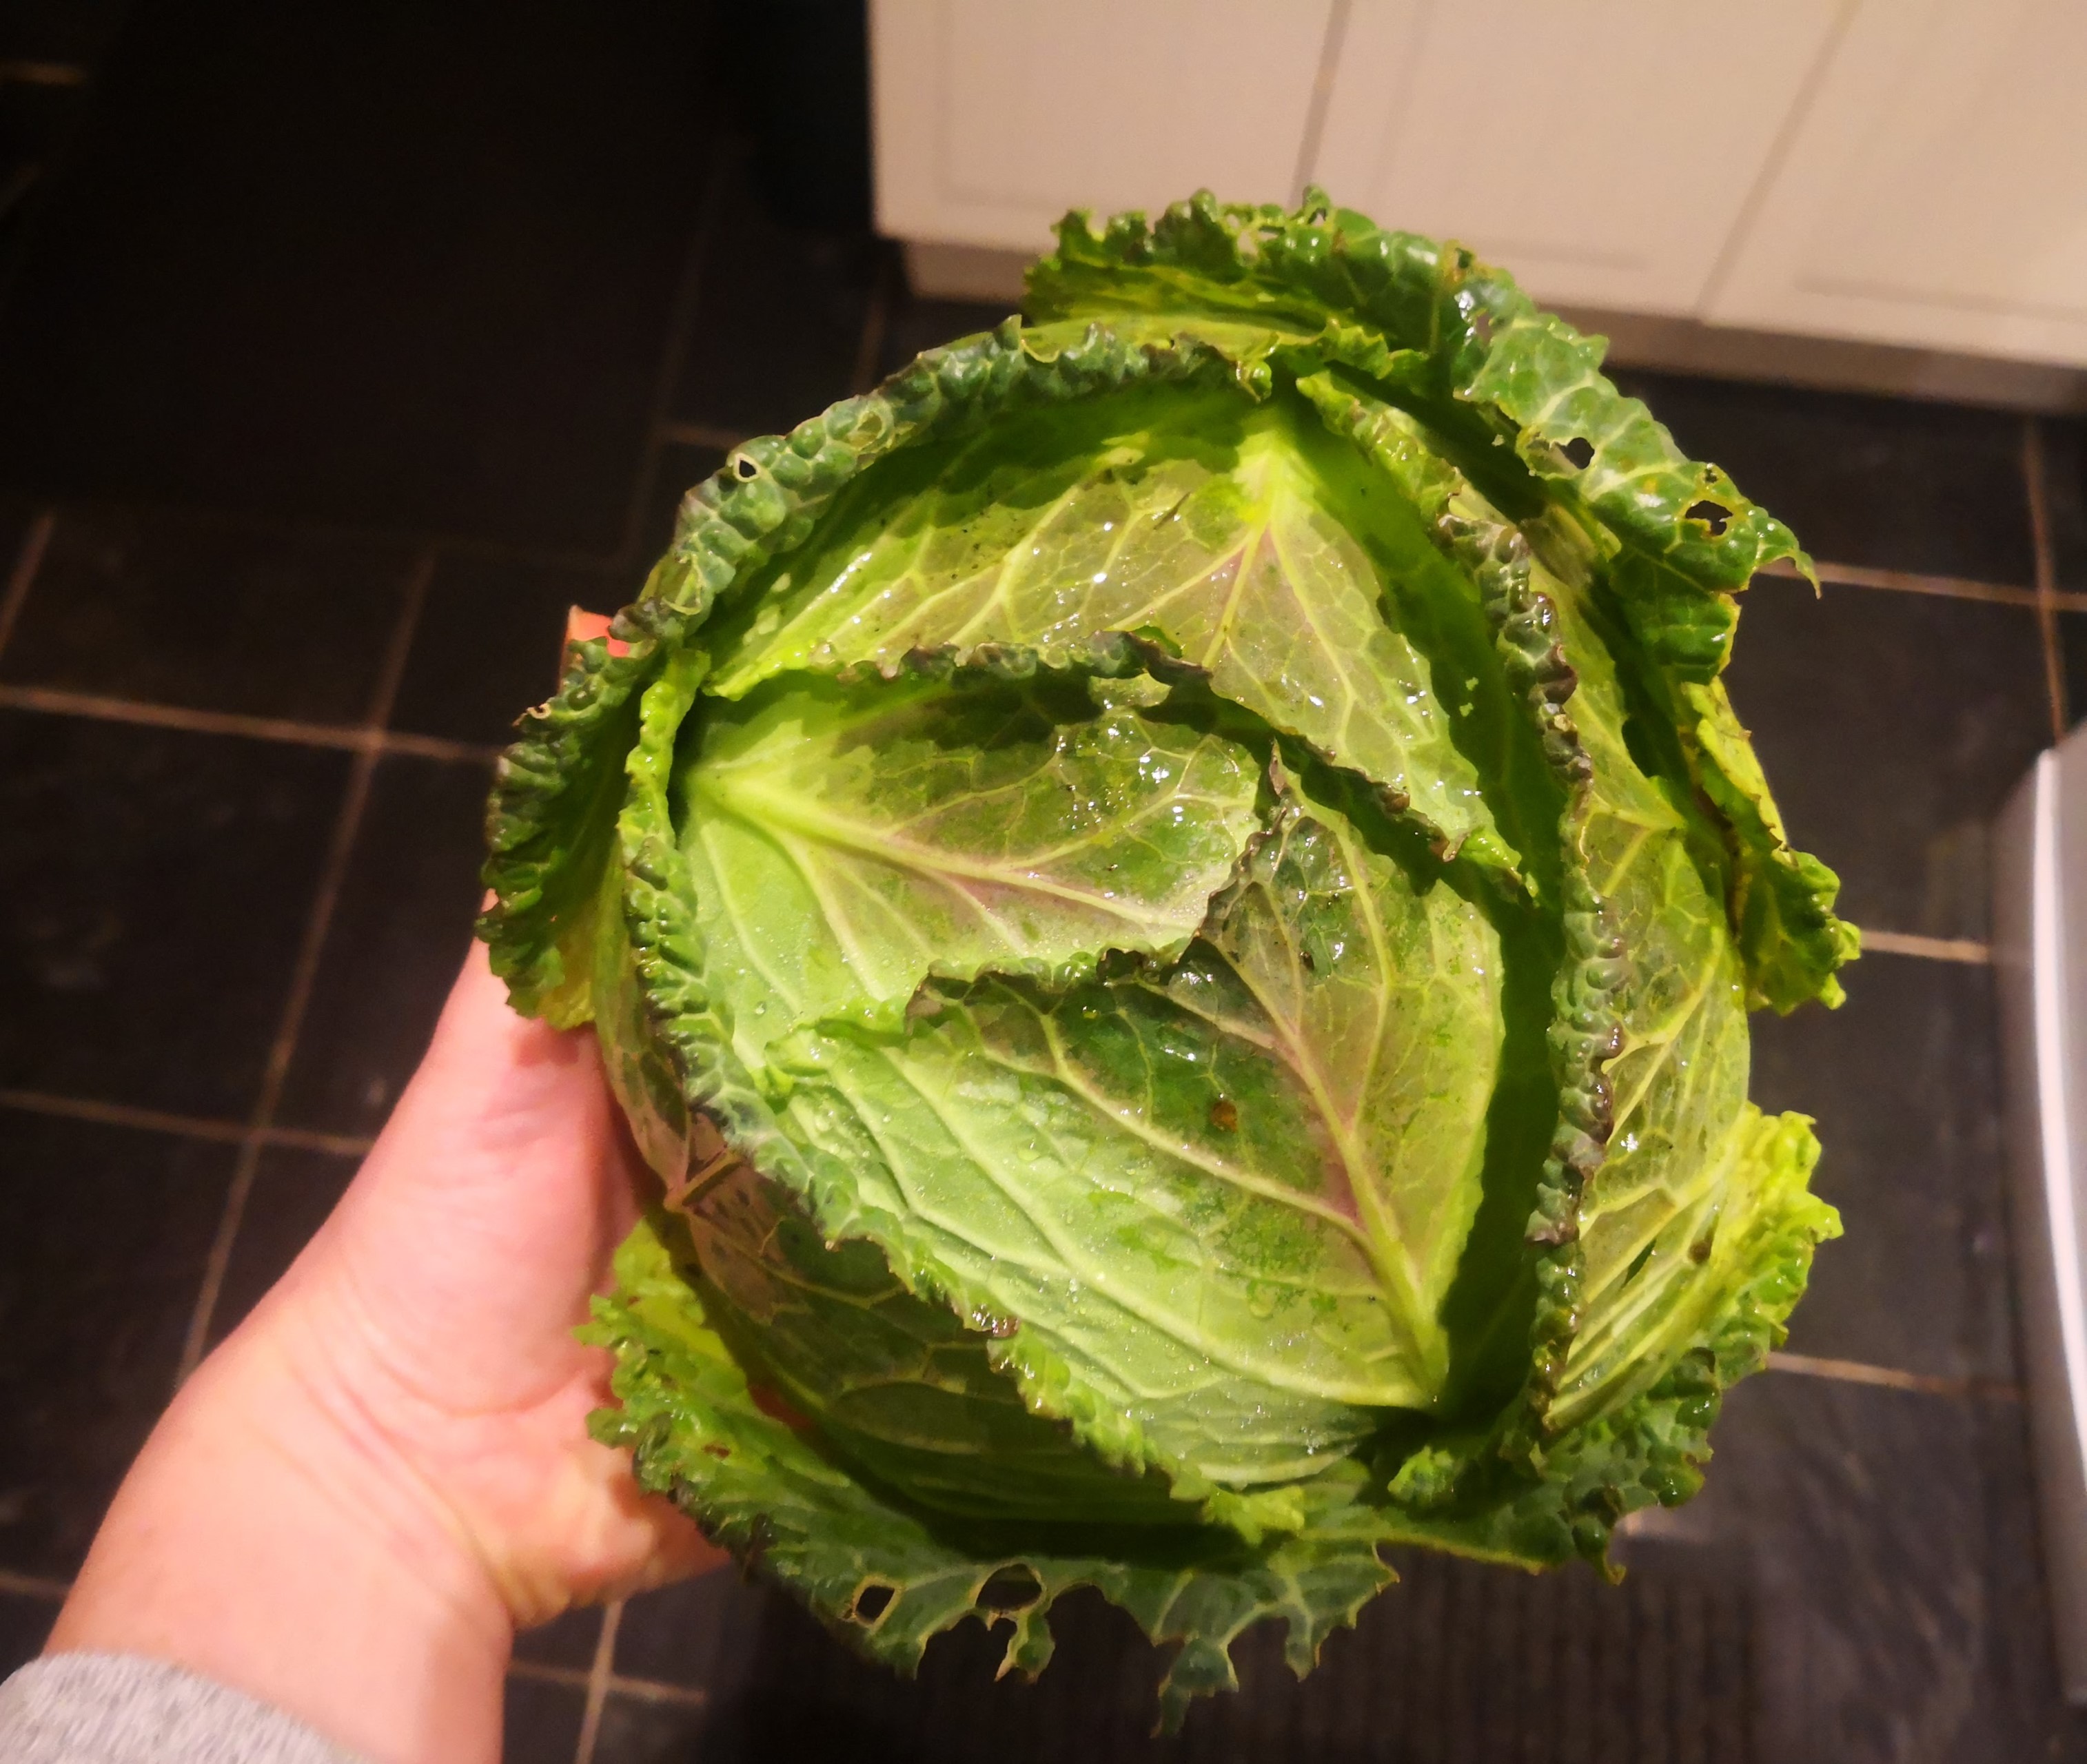
Easy – just loosen the soil with a fork and pull the cabbage out. Remove any tough, outer leaves and cut off the root base.
Problems
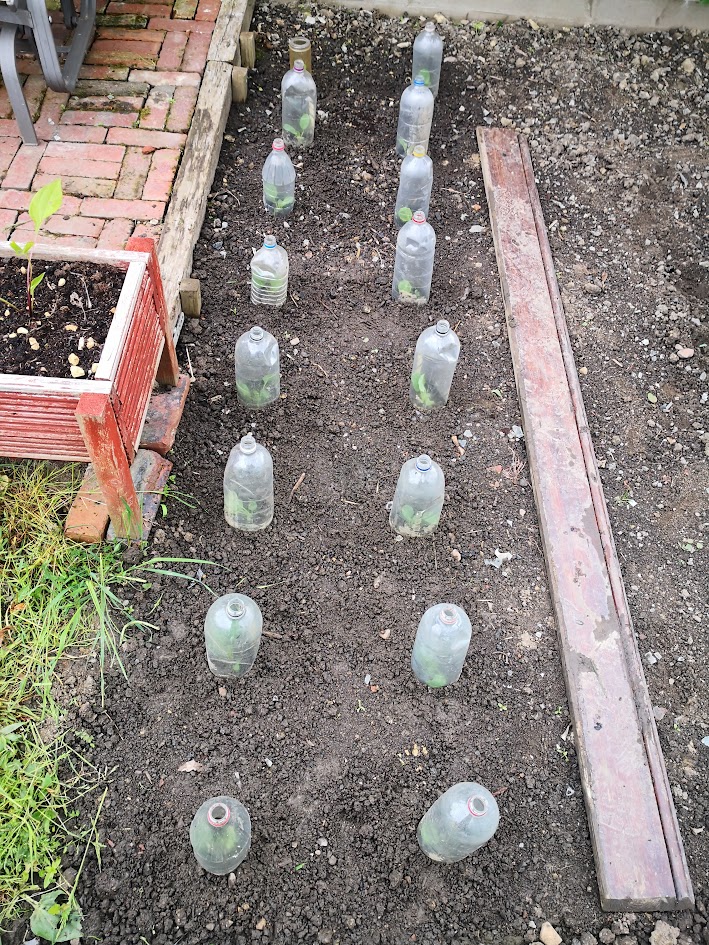
Young cabbages are vulnerable to birds, caterpillars, slugs and snails. They find their tender leaves irresistible, so it’s a good idea to protect young plants. We sometimes use netting, but this can make it awkward to weed. Lately, we have preferred protecting young plants with bottle cloches, and removing them once the plants are large enough to no longer be a temptation for the hungry slugs or snails.
There are other ways to tackle slugs and snails, such as beer traps, copper tape or foil. Some people use slug pellets but, as from April 2022, these are no longer available to buy because they contain harsh chemicals that also destroy earthworms. There are organic, woollen slug pellets available, but these are expensive.
During spring and summer when butterflies are around, it’s wise to cover the growing cabbages with netting anyway. It is also a good idea to regularly check under the cabbage leaves for eggs and caterpillars, even when you do have them netted.
Storing cabbages
Leave them in the ground until you are ready to eat them. Once harvested, put inside in a plastic bag and store in the vegetable drawer of the fridge for a week to ten days.